Instructions on how to correctly change the rubber band on the washing machine
The hatch cuff is the most vulnerable part of the washer, which breaks down quickly. If the hatch rubber is not used properly, it will break within 2-4 years. Therefore, each owner of such equipment should know how to remove the rubber band from the drum of the washing machine and replace it.
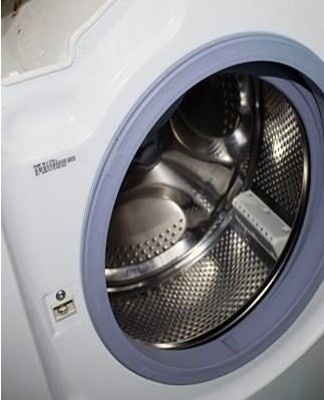
Description and function of the cuff
Before proceeding with the removal and replacement of a damaged cuff, you should familiarize yourself with its main purpose. In all models of washing machines, this rubber material performs one function - it seals the gap between the tank and the body of the equipment. If the rubber sleeve is damaged, the hatch does not close properly and water begins to flow from the tank. Also, due to the damaged integrity of the sealed material, liquid may enter the control board and other electronic components.
Causes of cuff damage
The rubber band cannot be damaged like this. Four reasons can damage the integrity of the sealing material near the tank.
normal wear and tear
This is the most common reason often encountered by owners of older models of washing machines. Rubber begins to wear naturally if you regularly use washing machines for five or six years. In this case, the material is damaged due to prolonged exposure to too cold and too hot liquid. Detergents, extreme temperatures and drum vibrations also contribute to the destruction of rubber.
Poor quality washing powder
It seems to some that low-quality powder only negatively affects human health, but this is not so. Also, poor quality detergents cause the rubber band installed in the washing machine to break. Therefore, experts recommend carefully choosing a powder for washing clothes. Don't use powders that are too cheap, as they contain dangerous chemicals that corrode rubber.
Powder overflow
Some housewives do not wash properly and use a lot of detergents in the washing process. Excessive use of washing powder negatively affects the integrity of the rubber pad. The components that make up the products gradually corrode the surface, which is why the cuff tears over time. To prolong its life, it is contraindicated to add a lot of detergents to the water.
Foreign objects during washing
It is known that before loading things into the drum, you need to make sure that there is nothing in it. Often in the pockets there are small change, various garbage and other foreign objects. When washing, they fly out of the pockets and rub against the wrist. This leads to damage to the integrity of the rubberized surface.
DIY repair
Some people do not want to seek professional help and try to repair the damaged part themselves.
What is necessary
First of all, you need to prepare all the tools and materials that will come in handy when performing the work.
A thin piece of rubber
People planning to repair an old rubber band should select a new patch to attach to the cuff. When choosing a material, the dimensions of the damage on the surface are taken into account. It is necessary to pick up a piece of rubberized material so that it completely covers the damaged area.
Solvent
After using washing machines for a long time, mold may appear inside the drum. Mold deposits are difficult to remove. To quickly remove accumulated dirt under the old cuff, use a solvent. This liquid instantly corrodes even very old dirt. The solvent must be used with care so as not to damage the washer.

great glue
Superglue is considered an indispensable tool for working with rubber products. This adhesive will not only help seal the cuff, but also secure it to other surfaces. When replacing the rubber band, superglue is used to attach it to the body of the washing machine.
Experts advise using Vinyl Cement superglue, which is very durable and resistant to high humidity.
Soft cloth or cotton
A plain fleece or cloth will be needed to pre-treat the surface to which the new patch will be attached. It is necessary to treat the area under the rubber with special disinfection liquids. This is done so that the rubberized material attaches more reliably and does not peel off for a long time.

Sequencing
To properly attach the patch to the damaged cuff, you need to familiarize yourself with the sequence of actions.
We remove the clamps with which it is attached
First, the person must get rid of the fasteners that hold the cuff. To do this, he will have to unscrew two small clamps himself, located on the front wall and near the drum. The fasteners on the wall unscrew first. After that, you can unscrew the second clamp and carefully remove the damaged part.
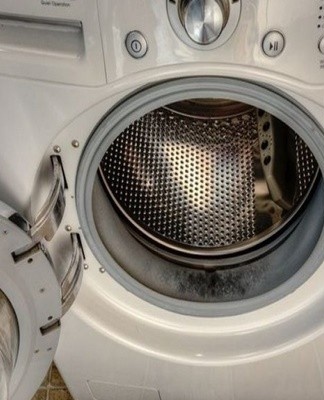
Find a problem area
Pulling out a rubberized seal, they examine it in detail and look for the damaged area. To quickly find the problem area, carefully straighten all the creases in the cuff. Sometimes it is not easy to find a gap visually and you have to look for it by touch. To do this, place your hand on the surface of the rubber to spot any irregularities that could be damaged.
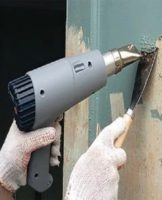
Deep degreasing of square and patch
The damaged joint must be degreased so that the patch adheres to it better. Apply the degreasing fluid so that the treated area extends two centimeters beyond the gap. Until the solvent is completely dry, the seal is kept unfolded.
How to stick a patch
To attach the patch to the cuff, a thin layer of super glue is applied to the damaged area. After that, a straightened rubber patch is applied to the treated surface. It is pressed to the surface for 5-10 minutes, until it is fixed with superglue.
Disassembly and replacement
If the seal is badly damaged, you will need to replace it with a new one.
Parts Selection
It is necessary to select the correct part, which can be used to replace the damaged cuff. Experts do not advise buying gaskets from other models of washing machines.
It is recommended to select a rubber band suitable for this particular type of washer.
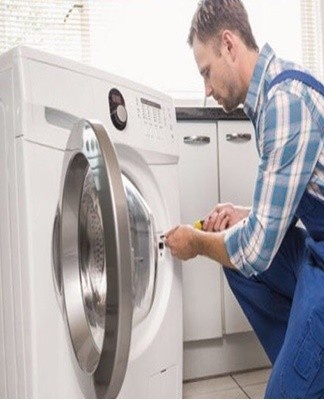
Removing the first and second clamp
Before replacing the rubber sealing collar, it is necessary to disconnect the fixing clamps. To do this, you need to disconnect the washer from the electricity and open the hatch. Then the fasteners are unscrewed on the front wall and near the drum.
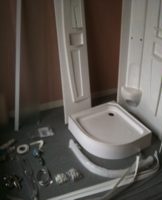
How to install
To put on a new cuff correctly, there is a special recess on it for fixing. The seal is taken from the inside with both hands and placed in the hole near the tank. When installing, you need to press the rubber band with your fingers so that it attaches better to the edge of the tank.
Review
After the cuff is installed and screwed with pliers, the tightness of the rubber is checked. To do this, turn on the washing machine and select a mode for rinsing things. If water does not drip under the hatch during rinsing, then everything was done correctly.
How to extend the life
There are several tips that will help you extend the life of the rubber seal:
- it is better to replace a cheap powder with a more expensive powder, which will corrode the rubber less;
- it is necessary to regularly check the pockets of clothes before washing them for foreign bodies;
- you can't use a lot of washing powder while washing.
Conclusion
People who regularly use the washer are often faced with gasket wear. Before replacing it, you should familiarize yourself with the causes of damage to the rubber band and the recommendations for its dismantling.