How to properly lay tiles on the floor with your own hands, installation methods and technology
For laying tiles on the floor, you must follow the basic rules. This procedure involves performing a number of sequential actions. To achieve good results in this area, it is necessary to choose the right composition of tile and adhesive. Ground leveling and other preparatory work is also important. To keep the floor smooth and tidy, it is worth using the appropriate tools.
Content
- 1 What is needed for styling
- 2 Material preparation
- 3 How to level the surface
- 4 Padding
- 5 Layout for layout scheme
- 6 Application rules
- 7 Preparation of the adhesive mortar
- 8 tile cutting
- 9 Grouting
- 10 Style features in different rooms
- 11 How to correctly lay on various surfaces with your own hands
- 12 Ceramic tile repair
- 13 Rules of care
- 14 Common Mistakes
- 15 Additional tips and tricks
What is needed for styling
For successful tiling, it is recommended to prepare all the necessary tools.
Building level
This tool helps to make the veneer smoother.
Roulette
With its help, it is possible to make the layout of the room.

Marking cord
Such a device is needed to level the surface. It helps to lay the tiles evenly.
Tile cutter or grinder
The tool helps you adjust the product to fit the size. This is especially important for tiling in corners.

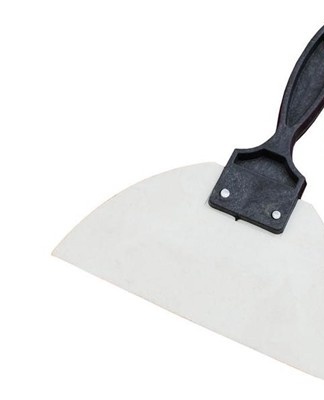
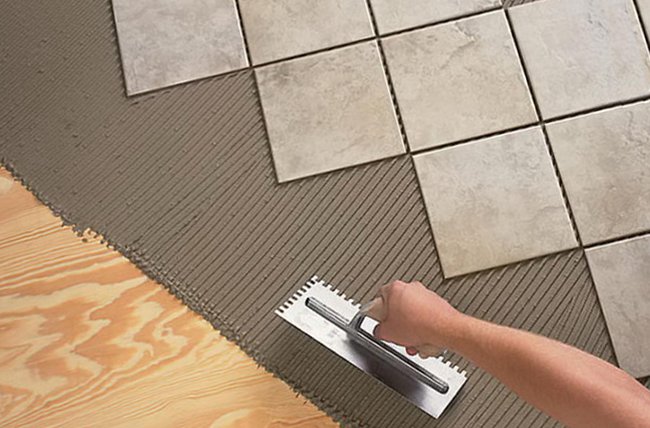
Notched trowel
This tool is used to level the adhesive layer.
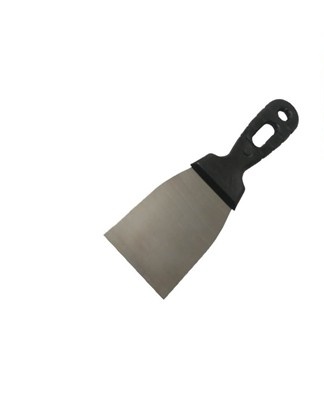
Spatula or spoon
With the help of a trowel or a trowel, it is possible to level the floor covering.
Paint roller
This tool is used to apply a primer.
rubber spatula
The device is used to apply the grout.
Solution preparation container
Adhesive and grout can be mixed and stored in a suitable container.
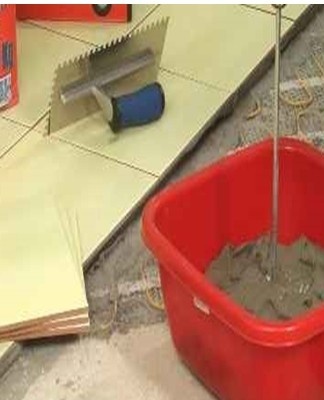
Drill or hammer drill with mixing attachment
These tools with a mixing attachment help you mix solutions as evenly as possible.

rubber hammer
With this tool it is possible to press the tiles on the base and achieve a solid fixation.
Overalls
Protective clothing will protect the skin and hair from various restorative substances.

Material preparation
In order to achieve good results when laying tiles, it is recommended to prepare everything you need in advance.
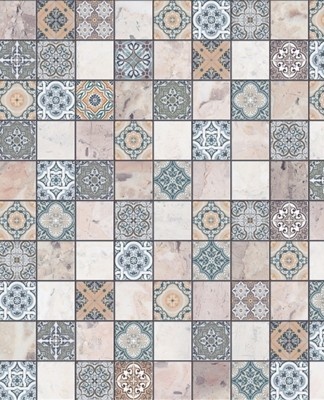
Tiles
This material is used for finishing work.It is made from different materials - clay, stone, concrete. If the material is made from clay and then fired, it creates ceramic tiles.
Tile is a type of ceramic material. Its difference lies in the presence of glaze on top.
Tile adhesive
For laying the tiles, it is worth choosing a special composition. Today there are many options for these substances on sale that have many advantages.
trowel compound
To choose the composition of the grouting, it is recommended to take into account the following criteria:
- color - the right choice of shade helps to get a beautiful design;
- properties and composition - mixtures are made from gypsum, epoxy resins, alabaster.

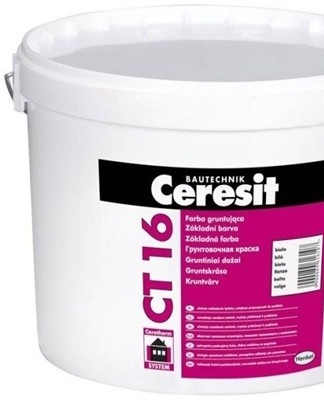
Boot Solution
The use of a primer mortar increases the adhesion of the finish to the support. Thanks to this, it is possible to reduce the cost of the adhesive solution. The finished floor is not diluted. It is used in the proportion suggested by the manufacturer.
The water
This component is needed to prepare the solution. It is important that it be as clean as possible. Otherwise, the finishing agents will change color.

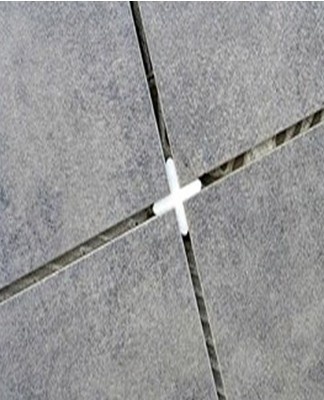
Crosses
These fasteners are necessary to maintain uniform joint dimensions. They can be of different thicknesses. The finest elements do not exceed 1 millimeter. They are used for a seamless style. For ordinary floor tiles, crosses are suitable, the thickness of which is 5 millimeters.
How to level the surface
To level the surface, it is worth using such methods - to make a screed or use a self-leveling floor.
screed
This is the traditional option, which involves leveling the ground with a conventional sand-cement compound.Filling the soil is simple, so even beginners can do it.
In addition, the method has certain drawbacks. Thus, the coating turns out quite thick - at least 3 centimeters. Another minus is the drying time - it can reach 3 weeks.
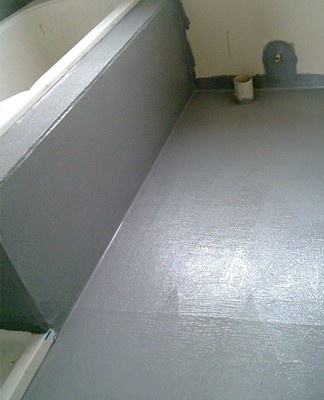
Self-leveling floor
This coating has several varieties. It usually includes 2 layers. The first involves the use of a cement plaster. It looks like a screed, but using special modifying components allows you to reduce the thickness of the layer.
Two-component compositions are used as a topcoat. The ingredients are mixed before pouring. The connecting elements are polyurethane or epoxy resins. They help you get solid ground.
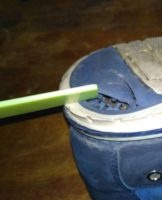
Padding
The screed must be primed before laying. This secures the attachment of the trim to the base.
It is not recommended to dilute the finished primer. It is used in the proportion indicated on the package.
It is worth applying the composition with a wide brush. At the same time, it is recommended to clean the concrete from dust and debris. The composition must be squeezed out, rubbing into the base. The white foam testifies to the saturation of the concrete in the ground.
Layout for layout scheme
To lay the tiles as evenly as possible, it is worth applying marks on the floor. There are several options for laying the coating.
Traditional
This is the easiest installation method. To make the layout more interesting, it is allowed to use tiles of different colors that match each other. The elements are either square or rectangular.

Diagonal
This method is considered more unusual. But it is associated with certain difficulties. In this case, it is permissible to use exclusively square tiles.This installation hides imperfections and irregularities in the floor. However, this often leaves a lot of leftovers afterwards.
Gap
This method resembles masonry. The result is an unusual finish. However, it is not suitable for all rooms. This option should not be used for small parts. Rectangular or square tiles are suitable for him.
Platform
This arrangement allows for a harmonious and neutral pattern because the transverse seams do not form straight lines. Laying the apron is allowed only with rectangular elements.
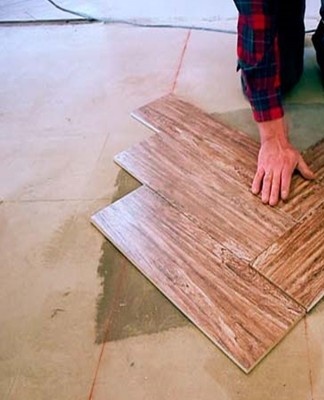
Herringbone
This method is similar to the popular parquet pattern. This is the standard way to stack long pieces. In this case, in the end, each piece will have to be cut at an angle of 45 degrees. This method is suitable for rooms of different sizes. Tiles of different sizes are combined into modules, and then duplicated over the entire area.
Modular
This method will be a wonderful floor decoration. It can be chosen by beginners. When laying it will be possible to calculate and select a suitable pattern. There are ready-made kits and schemes for them on sale.

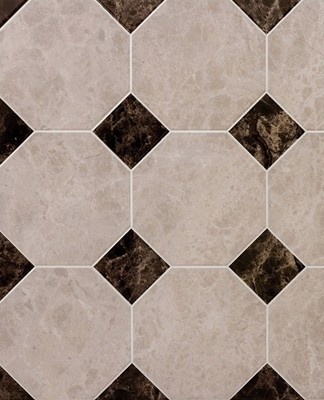
With contrasting inserts
This solution is suitable for large rooms. Large elements are used as the main background. At the same time, contrasting inserts add pizzazz. In this case, it is permissible to use rectangular or square tiles.
Combined
When decorating the floor covering, it is allowed to use different colors and shapes. A combination of textures is also allowed. In this case, it is worth correctly calculating the amount of materials.
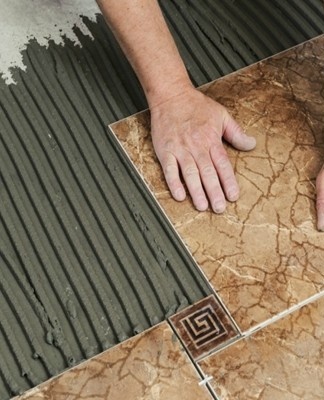
Application rules
For success in the design of the floor, it is recommended to follow a number of rules and recommendations.
are common
General recommendations are as follows:
- In the most noticeable places and near the sills there should be a whole element.
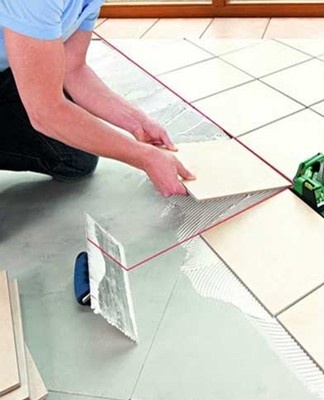
- The layout is done from the center.
- After marking, it is worth laying out the tiles on the floor and evaluating their location. If you don't like the design, you can modify the design and re-mark the floor.

From the most visible angle
To do this, it is worth choosing the angle that is best seen. Usually this is the place that is opposite the entrance to the room. Then it is worth applying the markup.
To do this, it is recommended to draw a straight line from the selected corner. This is done on one side, then on the other. There must be a right angle between them.
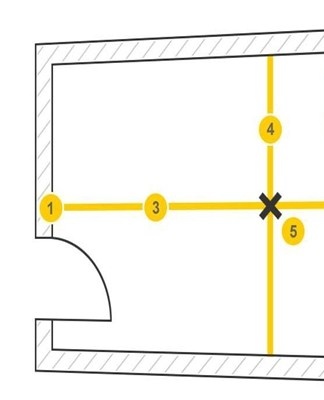
From the geometric center of the part
To tag in this way, it is recommended to do the following:
- measure the width along a wall and mark the middle;
- then perform similar actions for the opposite wall;
- draw a line along the marks;
- then find the center along the long parts of the room and draw a straight line;
- in the intersection zone, a geometric center will be obtained.
Preparation of the adhesive mortar
In order to achieve reliable fixing of the tiles, it is recommended to properly prepare the adhesive mortar.
Choice
Different compositions are suitable for laying tiles:
- cement - are versatile and provide reliable adhesion;
- epoxy - produced in the form of mixtures with minerals or thin fillers;
- dispersive - characterized by high adhesion.
Preparation
To achieve good results when preparing the composition, you must follow these rules:
- all components should be at the same temperature - preferably room temperature;
- for mixing the substance, it is worth using clean, dry containers;
- for the preparation of the solution it is recommended to take clean water;
- it is recommended to use protective equipment - gloves and a respirator.
To make a composition for fixing, it is worth doing the following:
- Study the instructions and determine the proportions.
- Pour the required amount of water into an empty container and add the composition.
- Mix water with the composition using a special mixer.
- Infuse the solution for a quarter of an hour. Then stir it again. The result should be a homogeneous mass.
Calculation of the quantity required
To calculate the required quantity of a substance, a number of criteria should be considered:
- tile size;
- the composition of the adhesive;
- trowel notch size.
tile cutting
When laying parquet, it is often necessary to trim it. This can be done with different tools.
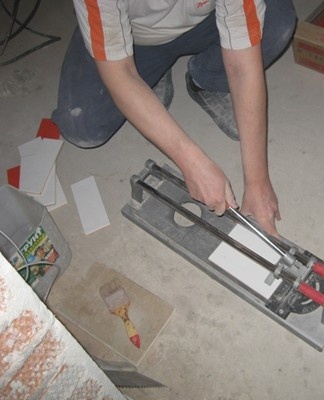
Tile cutter
It is worth putting a tile in the tool and aligning the cut area with the marks. Then move the roller and press the handle of the cutter. As a result, 2 jaws will press on different fragments of the element and break it.
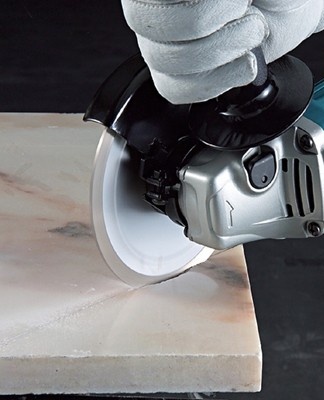
Crusher
If you need to cut a small fragment, you should take a grinder.
A diamond disc suits him.
Glass cutter or other sharp instrument
This method is suitable for those who wish to cut some of their floor tiles. It is recommended to place it on a flat surface and draw it along the line with a glass cutter. Then place the piece on the nail and gently press different parts of the line. As a result, you will be able to get 2 required shards.

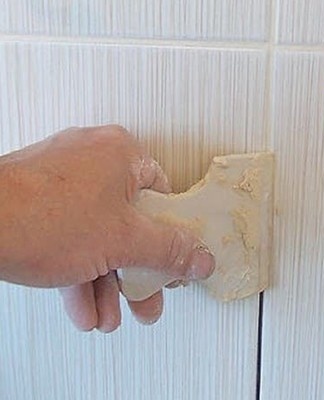
Grouting
To wipe the seams, you need to adhere to this technology:
- make sure that the glue is completely dry - it is recommended to wait a day;
- remove debris from seams and remove plastic crosses;
- study the instructions for grouting and combine it with water;
- leave the composition for a few minutes and mix again;
- with a small rubber spatula, apply the grouting product by making diagonal movements;
- remove excess mortar with a spatula.
For better grip of the grout mix, it is recommended to clean the joints with a damp cloth every 3 hours. This should be done 2-3 times. Finally, wipe the entire surface with a damp cloth.
Style features in different rooms
When laying tiles, be sure to consider the purpose of the room in which it is used.
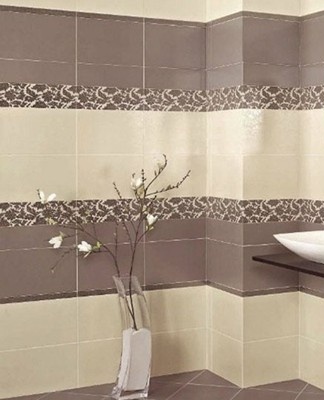
Bathroom
In this case, it is worth making a slight bias from the tub to the door. The choice of tiles is also important - they should be non-slip and wear-resistant.
Bathroom
In the toilet, it is recommended to carry out the arrangement taking into account the location of the toilet. It is desirable that the seam be in the center of the base.
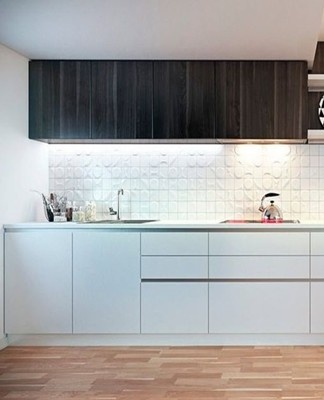
Food
Before carrying out the procedure, it is worth doing waterproofing. When choosing a material, it is recommended to give preference to a coating with better impact resistance.
How to correctly lay on various surfaces with your own hands
When laying the floor covering, it is worth considering the material from which the base is made.
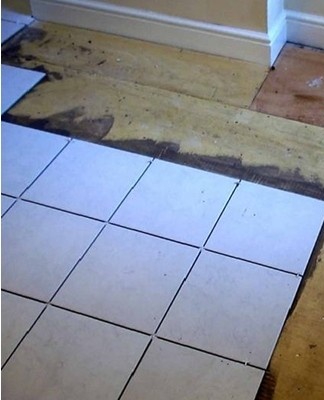
TREE
Before laying the tiles on the wood, it is recommended to level it well. If this is not possible, it is worth placing thick, highly waterproof plywood.
drywall
For laying tiles on this coating, you should give preference to moisture-resistant material. Special compositions are applied between the layers of the coating. All seams and joints are putty with glue.
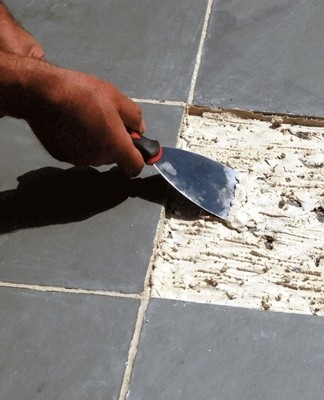
old tiles
Laying tiles on the same material is allowed if several conditions are met. First of all, the surface of the coating must be complete and flat. In addition, it is important that the old parts are firmly fixed.
Ceramic tile repair
Sometimes it becomes necessary to repair the tiles. Its implementation depends on the nature of the damage.
Chips and scratches
Small damages are repaired by hand. To do this, take a grout that matches the color and dilute with water. As a result, it is recommended to get the consistency of thick sour cream. Cover the tiles with the product obtained.
Replacing an item
If cracks appear or the tiles are badly damaged, it is worth replacing these areas completely. To begin with, it is recommended to remove the old coating, and then apply a new one. Disassembly should be carried out as carefully as possible, using protective glasses.
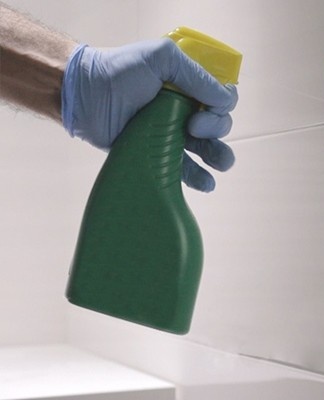
Rules of care
In order for the tile to serve as long as possible, certain rules should be followed. It is recommended to wash the surface with a lukewarm solution. It is best to use a soft sponge. It is also allowed to use a special tiling mortar. It provides stain protection.
It is forbidden to clean the glossy surface with abrasive substances. Otherwise, it will be scratched.
Common Mistakes
Inexperienced craftsmen make many mistakes when laying tiles:
- any voids under the tiles cause cracks - a special solution will help to avoid this;
- sometimes a poor-quality cut is obtained near walls or plumbing;
- uneven ground causes property damage.
Additional tips and tricks
In order for the tiles to be of high quality, these rules should be followed:
- make markup;
- lay out the tiles to assess its location;
- make sure the solution does not protrude into the seams.
Laying tiles requires compliance with a number of recommendations. To be successful in this business, it is worth choosing the right floor covering and glue composition. The technology of its application is of no small importance.