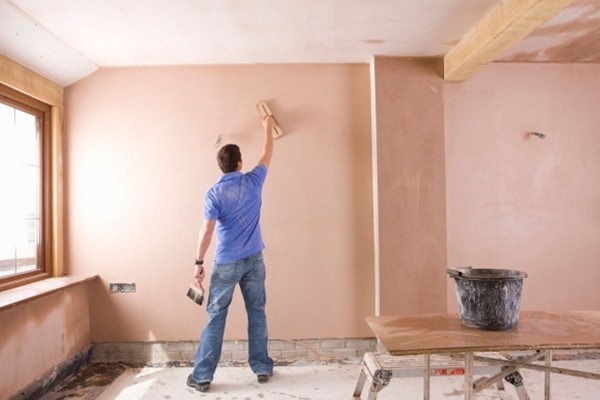
Step-by-step instructions and rules for applying decorative plaster to the walls with your own hands
One of the types of design of premises and facades of buildings is to add color and relief to protective surfaces. Non-professional plasterers can make decorative wall plaster themselves. It's not technically difficult. There is a large selection of ready-to-use and semi-ready-to-use formulations on sale. The choice depends on design intent and affordability.
What is decorative plaster
Decorative plaster is a finishing coat that differs from the base coat in its composition. It includes plasticizers, fillers and additives. Decorative putty is produced in the form of dry mixes and paste.
Polymer
The binding element that makes the composition plastic is acrylic resin. Advantages: high resistance, resistance to solar radiation. Disadvantage - poorly permeates steam, turns yellow in rooms with an open heat source.
Mineral
Dry mixes based on cement. They are inferior to acrylics in strength, ductility and service life. Advantage: low cost.
Silicone
The elastic composition forms a water-repellent coating. Disadvantage: high price.
Texture
Pebbles, sawdust, fragments of mica, textile fibers are included as fillers in the plaster composition.
Of construction
It differs from textured by the finer size of the fractions and the composition: stone chips of 1 to 4 millimeters or quartz sand.
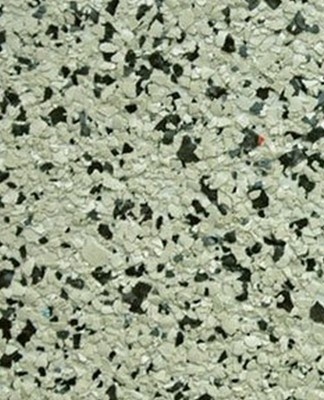
Flokovaya
Two-component composition: water-based acrylic glue and dry colored powder (flake). The obligatory final stage is the protection of the decorative layer with a layer of varnish.
Venetian
Hydrated lime is used as a base, and fine particles of marble or onyx are used as a filler.
How to end well
To decorate the walls, you will need a set of tools and materials corresponding to the chosen decor.
Tool
Devices for working with plaster can be divided into basic and decorative. Basic tools for mixing compounds and applying to walls.
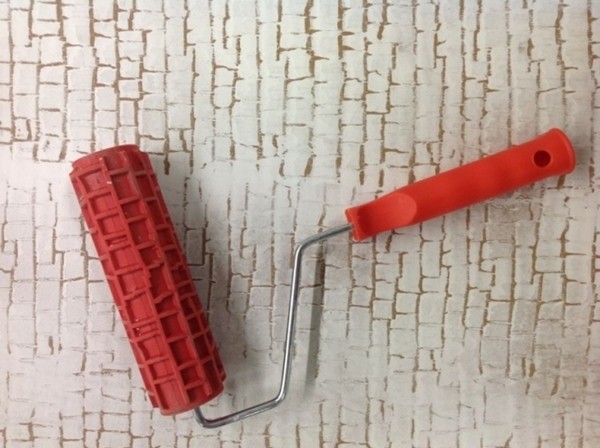
Purchased products and all kinds of home remedies are used for decoration. Bought - rubber rollers with accessories, special gloves. Do-it-yourselfers - plastic wrap, soft and hard brushes, latex gloves.
Preparation of materials
Wall plastering is a technological process that depends on the type of decoration.
Starting cast
The decorative agent is applied to the prepared surface: pre-aligned walls. For this purpose, gypsum, cement mixtures and clay are used.
The basic composition of gypsum has a significant drawback for inexperienced plasterers. A short period of time is allocated for its preparation and application to the walls.
The advantage of gypsum plaster is its high performance, which allows you to quickly level the walls for a decorative solution.The cement-sand mixture is less plastic, has a longer setting period. At home, it is easy to prepare it, taking the components in a ratio of 1: 3 and adding PVA glue for plasticity.
Decorative coatings
Decorating compositions are produced in a dry, gelatinous form. In the first case, it is diluted until ready with water, in the second - depending on the binder (water/solvent).
Primer
The primer solution is available in liquid or semi-viscous consistency.
Coloring compositions
The decorating composition is available tinted or contains pigments in the kit. The necessary color additives are also purchased for white plaster. Textured surfaces are painted after drying with water-based paints.
Varnish
To enhance the decorative effect and preserve the coating, varnish (gloss, matte, transparent) or wax is used.
masking tape
Masking tape is used for surface protection and zoning.
Calculation of the quantity required
To determine the amount of decorative mixture, calculate the average thickness of the coating and the length of the surface. 3 beacons are installed on the wall and the average is calculated from the elevations. It is multiplied by the area and consumption per 1 square meter at a thickness of 1 centimeter specified by the manufacturer.
How to prepare the walls
Before the start of plastering work, the surfaces are examined, dusted and repaired.
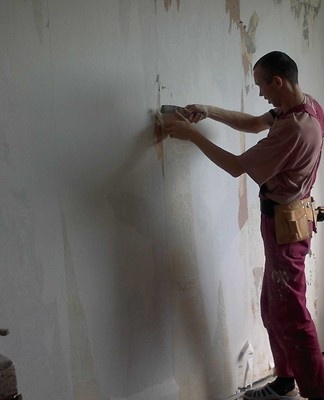
Cleaning the old coating
If the old layer of plaster remains on the walls, then it is removed, depending on the condition and composition. The lime plaster is completely cleaned. The layers of gypsum and cement are removed in places where they have cracks and soften.Paint or wallpaper applied to them is removed from all walls.
Leveling and sealing of cracks
The cracks in the walls are cut to the full depth and width, for a solid foundation. Close with the plaster provided for the starting layer, but with a thicker consistency.
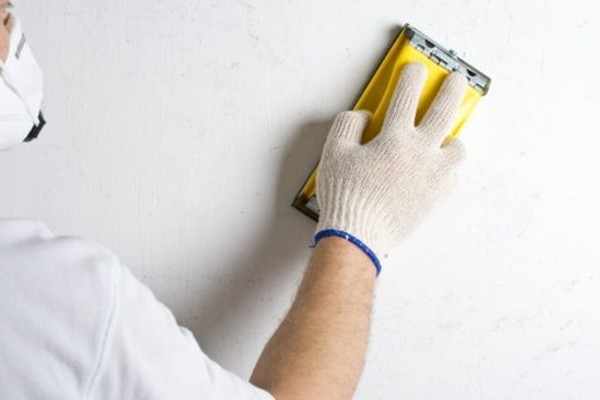
Stripping
After setting, the cracks are sanded with sandpaper to obtain an even surface.
Padding
For better adhesion of the base plaster, apply a liquid primer with an antiseptic. On the layers of decoration - mushy.
Drying
The drying time of the primer depends on the consistency and the ambient temperature.
Base coat application
The alignment of the walls depends on the material and the condition of the surface layer. The process will be laborious if the inner surfaces are covered with cracks, not completely cleaned of the old coating. In this case, a dry cement mix is used as the base layer.
The work consists of several stages:
- level beacons;
- preparing solutions;
- moisten the walls;
- cover with a solution 3-5 centimeters above the headlights;
- level the mortar with a ruler from the ground up.
Plaster walls are left for 2-3 days. To obtain a durable coating, they are moistened several times with water from a spray bottle. A liquid cement mixture is applied to a wet surface and the grout is made. Drying times depend on the thickness of the layer: from one to two weeks.
On the walls, leveled with plasterboard, with a well-preserved layer of old plaster, after a primer, a starting composition based on gypsum is applied. The same work is carried out on the newly plastered walls.
Layer - 1-2 millimeters.After drying, the surface is primed.
Application methods
The method of creating wall decor depends on the creative intent and available devices.
Venetian
Venetian decor is applied to the walls in several thin layers (from 5 to 8) so that the total thickness does not exceed 4 millimeters. The strokes are made in different directions so that the relief does not have a geometric shape. Tinted or similar tinting compositions are used.
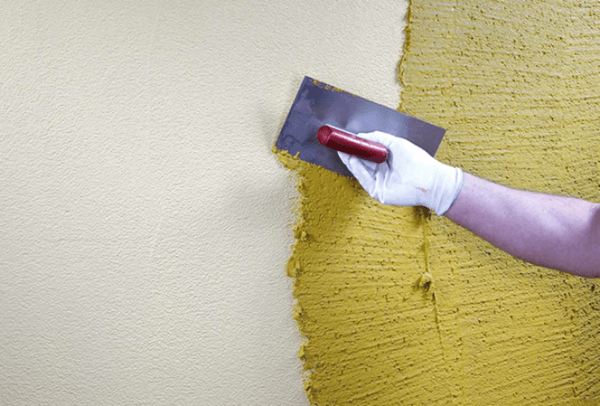
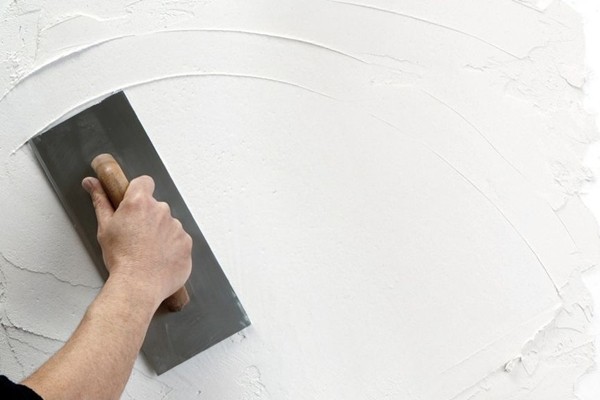
waffle
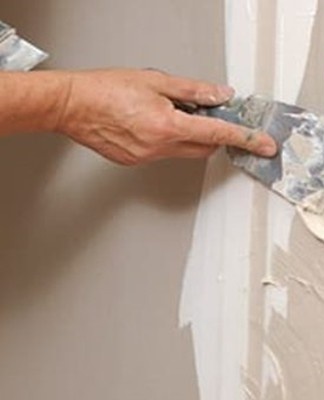
Putty is applied with a spatula in several stages. Each layer is dried. To obtain a smooth relief, it is trimmed with a metal trowel.
Plastic wrap printing
Plastic film marks are left on the wet putty. The type of impression depends on the wishes of the plasterer.
bark beetle
The coating looks like insect tracks under the bark. To achieve this effect, the plaster contains small pebbles of 1.5 to 3 millimeters. The solution is applied with a trowel. The direction of the stripes is determined by the creative idea: horizontal, vertical, circles, semicircles.
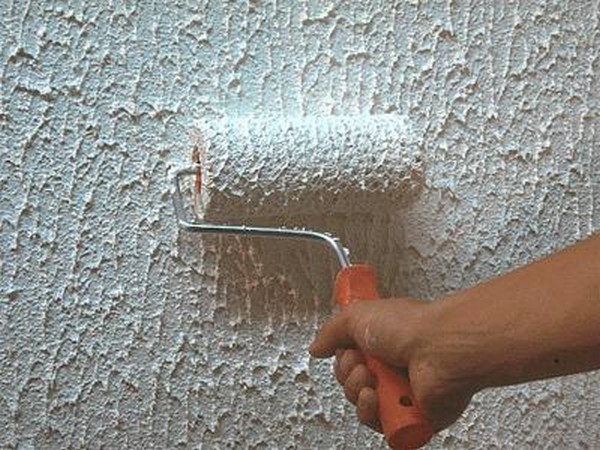
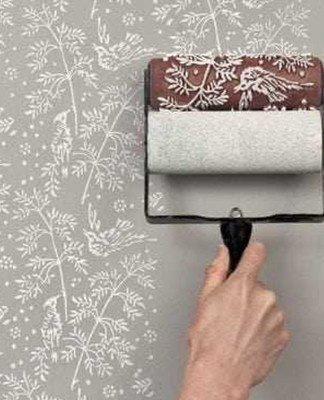
Creating a Textured Pattern Using a Roller
A rubber roller with homemade or commercial attachments will leave a pattern for every taste on the wet plaster.
With a soft or hard bristle brush
Relief on the wall can be created using brushes: for deep relief - hard, for shallow relief - soft.
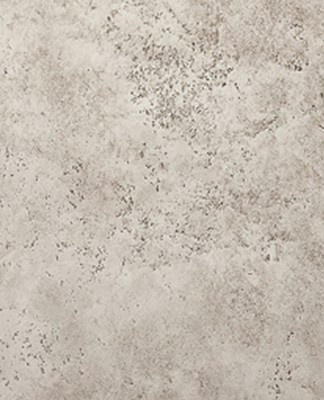
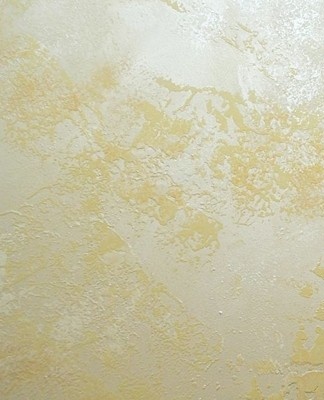
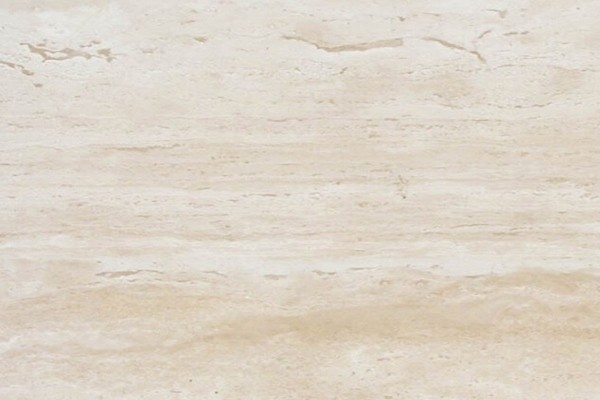
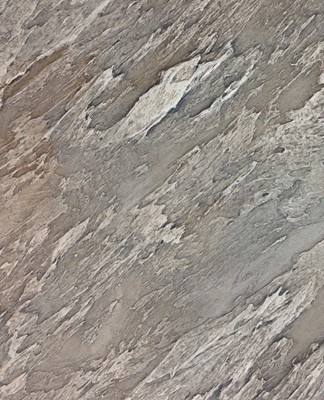
Travertine
Imitation of the surface of limestone tuff. Embossed two-tone plaster is made using a trowel and sandpaper.
Vague
To obtain a corrugated surface, a roller with a nozzle is used. Acrylic plaster contains sand.
dune
The effect is achieved by using quartz sand as a filler. Deep, smooth reliefs in one direction are created using a wide spatula and sandpaper.
under the stone
Venetian plaster is used to imitate the finishing stone on the wall. To do this, after drying, the resulting relief is polished and covered with wax or matte varnish.
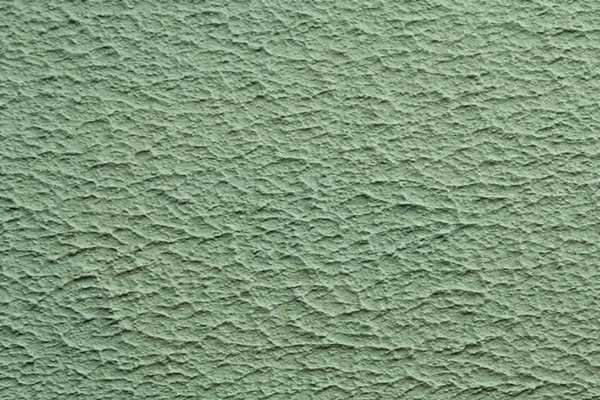
Under a fur coat
Structural surface without relief. Wool and grains of sand are used as a filler.
Hatching
On wet plaster with a narrow spatula, make short, frequent impressions, without pressure.
Oscillate
With the help of a trowel, deep furrows are formed in a chaotic direction.
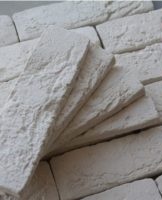
Rock
A mixture is used in which the filler consists of coarse-grained pebbles. Structural plaster with slight irregularities.
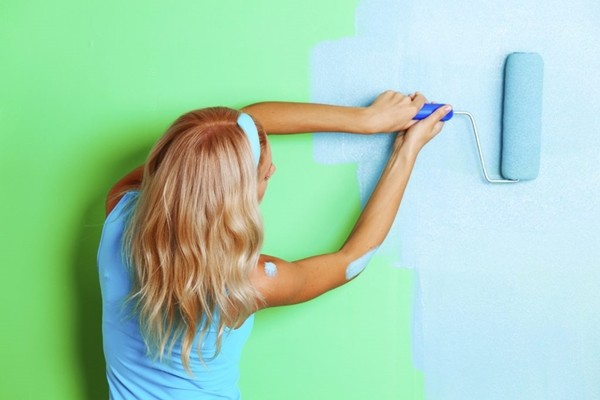
Dyeing
To decorate the walls, use ready-made colored plaster mixes or paint after the work is completed. In this case, a white solution is applied to the wall. To dye it, a color scheme is prepared on the basis of water-based paint, to which pigment is added. The color is selected on a prototype.
Drawings and panels
The decor in the form of a panel and a picture on the wall requires artistic skills. It is made according to the picture shown on the wall surface. Gypsum plaster is applied to it. After drying, using cutters, spatulas, sandpaper, the shapes are cut out and polished.
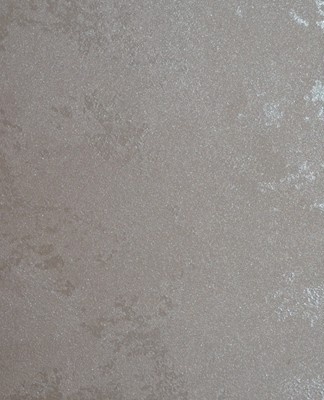
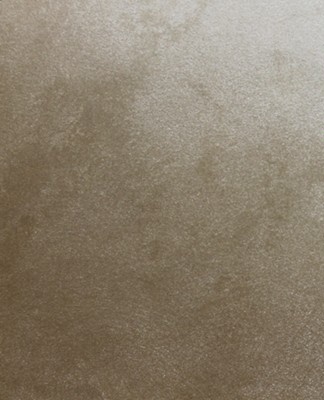
How to make Versailles plaster - step by step instructions
To do this type of work, you will need:
- starting putty;
- finishing putty;
- tinted primer for plastering Quartz-primer;
- decorative stain with metallic fillers Adagio Silver;
- sequins (polyester shards of different sizes).
Procedure:
- Priming and drying of walls.
- Preparation of composition. The required quantity ratio is 1: 1. Dry mixtures are poured into a container with water in parts one by one. Then mix.Let stand 10 minutes. Stir again. Consistency: homogeneous, medium viscosity.
- Mark the start and end of the decoration layer.
- Tape the parting lines.
- Apply putty with a spatula to the wall 3-3.5 centimeters thick.
- Using a trowel with an angled nozzle, a relief pattern is formed in the form of multidirectional stripes.
- After drying, the sharp edges of the relief are smoothed with a spatula.
- The surface is sanded, without forcing, with a trowel counterclockwise with sandpaper n°60.
- The decor is cleaned of dust with a soft brush.
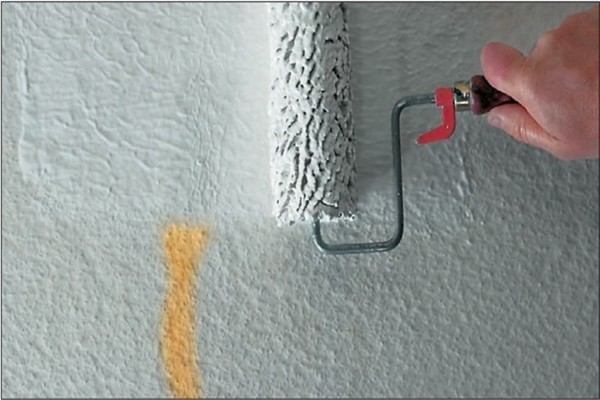
- Using a nap roller, evenly saturate the embossing with the liquid primer. Dry.
- Prepare and apply a water-tinted paint.To do this, add pigment to the white paint, stir until completely dissolved. Then they are diluted with water so that the paint easily falls on the wall, using a roller with a bristle nozzle. Dry.
- Prepare the following coloring composition: a solution of a metallic dye and a primer in a 1: 1 ratio. The thick composition is applied with a foam roller to the protruding edges with light strokes and rolled over the entire surface.
- Add 3 parts water to one part varnish, mix well. Sprinkles are poured (1 tablespoon per 0.5 liters of water). Mixes by shaking. It is applied to the surface with a foam roller.
When performing work, it is necessary to ensure that the boundaries between the plastered areas are invisible.
Common Mistakes
The economy of primer, insufficient drying are the main disadvantages when performing wall decoration works.
Additional tips and tricks
The first painting, if tinted, must be carried out simultaneously on all the walls in order to obtain uniformity.
Two-color decor can be obtained in several ways:
- remove the coloring layer with light touches of a dry sponge;
- clean the protruding elements of the relief with sandpaper;
- Apply thick paint to the painted and dried surface with a dry sponge, touching the combs.
Budget plaster is easy to make at home. This will require 400 Portland cement, lime putty. Depending on the type and color of the relief, you can add marble flour or chips, ocher, manganese peroxide, red lead.