How to glue a stretch ceiling with your own hands after cutting, step-by-step methods and instructions
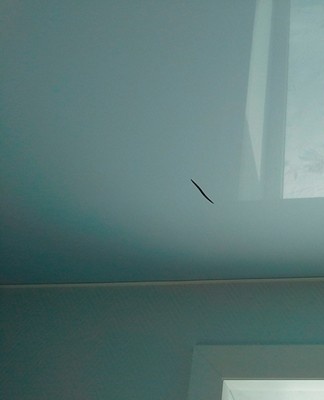
In many apartments and private houses, stretched canvases are used as a ceiling decoration. This is due to the simplicity of masking defects on concrete slabs and the low cost of finishing. External impact on the canvas can lead to damage, so it is recommended to familiarize yourself with the information on how to glue a stretch ceiling after cutting.
Reasons for damage to the stretch ceiling
Material defects occur for a variety of reasons. Most often, a stretch ceiling breaks in the following situations:
- negligence in the process of performing construction and installation work, due to which a sharp spatula or other tool leaves a cut;
- dismantling and installation of window structures, moving furniture and other works in which an inaccurate touch of the material occurs;
- installation of an initially defective canvas of poor quality, poorly executed ceiling cut;
- the formation of bulges and subsequent cracks during flooding as a result of plumbing leaks into the apartment from above;
- long-term operation of the material with unstable temperature and humidity in the room.
DIY puncture repair methods
It is impractical to eliminate large defects of the tension structure, since it will be cheaper and less laborious to tighten the new material. In this case, small punctures and cuts can be masked if, immediately after the appearance of the defect, it is possible to prevent further spread. Noticing a hole in the canvas, you need to glue the damaged area with tape or electrical tape and continue work. You can repair the puncture yourself with a rag or PVC cloth, and these methods are carried out in different ways.
Textile
If there is excess material left after installing the stretch ceiling, it is suitable to hide the defect. If there is no patch, you can choose a piece of fabric with a suitable shade and texture. When the search for material fails, it is worth contacting the company that carried out the installation of the ceiling in order to find a fabric of a similar or similar color. Then the damage is repaired according to the following instructions:
- Measure the dimensions of the cut and adjust the patch. It is recommended to leave a few extra centimeters on each edge of the defect.
- A transparent layer of adhesive is applied to the surface of the patch on one side.
- The fabric is applied to the damaged area of the stretch covering and carefully smoothed.
- With a little effort, the patch is pressed against the canvas. Strong pressure can force the adhesive out and cause the treatment area to sag.
- When the glue dries and the patch is securely in place, if necessary, the surface of the canvas is partially painted for additional masking.
pvc fabric
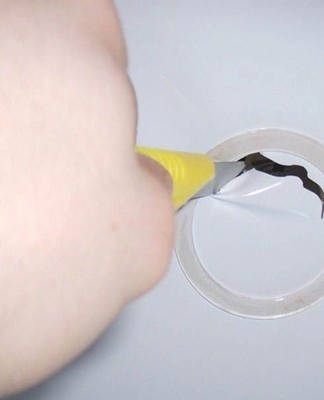
Using a PVC cloth, the damage cannot be repaired for more than 2 cm. The process of masking defects is similar to the method which involves the use of a cloth patch, but has a a number of peculiarities. Including:
- PVC film cannot be repainted in a different color, so you need to prepare a patch from the material remaining after the installation work, or independently come up with a tone or contrast application;
- if you cannot find a suitable patch, you can close the cut with a decorative element - a butterfly, a flower, an abstract geometric figure;
- splits on PVC material tend to grow quickly, so the tape is removed from the damaged area immediately before the permanent patch is applied.
Adhesive Selection
You can fix the patch on the damaged area of the stretch ceiling with different types of glue.
Regardless of the brand chosen, the adhesive solution must imperatively meet the basic requirements: be transparent so as not to leave stains on the ceiling, harden instantly and not destroy the surface of the stretch coating.
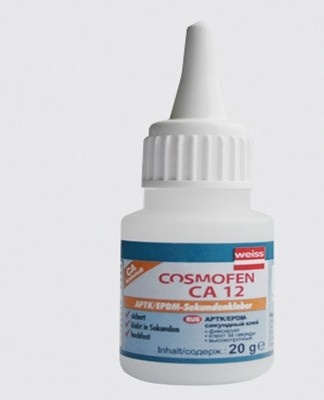
Cosmofen
Glue "Cosmofen", according to many experts, is considered the best option for stretch fabrics. The mortar is a versatile agent and ensures the adhesion of the material in seconds, leaving no residue. Complete drying occurs within 15 to 16 hours of application to the material.It is not recommended to use "Cosmofen" only for gluing cuts on ceilings with a porous surface, as this can affect the quality of gluing.
Cyanoacrylate solution is not sensitive to sudden changes in temperature and humidity, which allows it to be used in rooms under any conditions. The glue is supplied in a small-sized package and is economically consumed - a few grams of the substance are enough to fix the patch. You can buy Cosmofen at any hardware store or building materials department.
Somafix
Somafix Universal Adhesive Activator instantly forms an ultra-strong bond between patch and stretch fabric. The final setting time does not exceed 10 seconds. The solution contains ethyl cyanoacrylate gel and hardener spray. After application, Somafix glue does not spread, it remains transparent and invisible. To ensure secure adhesion, Somafix must be dust free and dry before use.
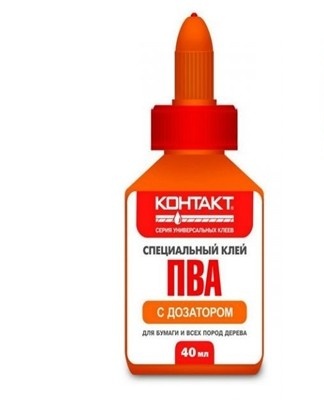
"Contact"
The one-component "Contact" super glue forms a strong joint and dries almost immediately after application. The resulting compound is durable, resistant to organic solvents and temperature extremes.
Loctite
Loctite Instant Adhesive is a one component solution that cures at room temperature. Different types of adhesives produced under the Loctite brand differ in their viscosity index. Mortar is used for permanent bonding of a large number of materials, including stretch fabrics. The setting speed is a few seconds.
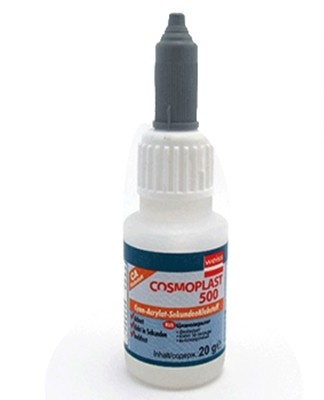
Cosmoplast
Cosmoplast Instant Cyanoacrylate Adhesive forms a strong bond in just a few drops. Convenient plastic wrap ensures precise application to the stretchy coverage patch. Benefits of the Kosmoplast adhesive solution include:
- hard glue seam;
- resistance to humid environment and temperature extremes;
- lack of solvents in the composition;
- quick fixing;
- UV resistance.
How to glue a cut on a stretch ceiling
The method of gluing a cut to a stretch covering depends on its size and distance from the walls. In each case, the elimination of the defect has its own peculiarities.
Small cuts can be sewn with nylon thread. To hide the slit, you need to choose the right color for the thread. If the resulting seam remains visible, it is permissible to paint it with water-based paint using a spray gun.
It is more problematic to eliminate large damage. Therefore, for a high-quality result, it is better to use the help of a professional.
As a temporary solution, tape the damaged area with masking tape. This precaution avoids enlarging the cut until it is completely repaired.
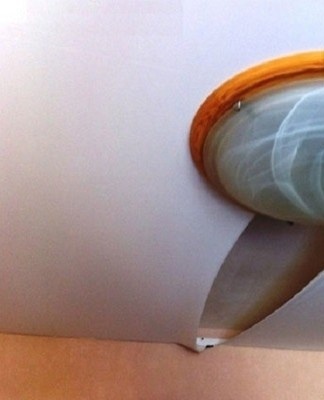
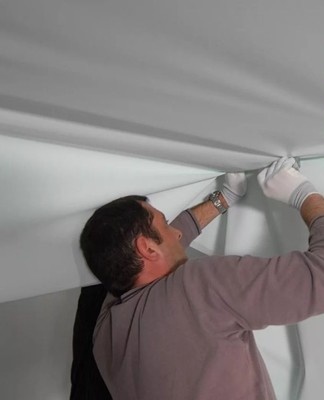
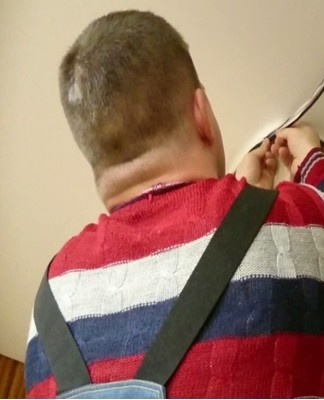
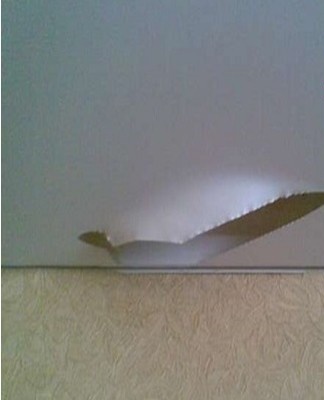
When a cut is close to a wall, it can be removed by dragging a small area of the canvas. Thus, the hole remains in the groove of the baguette and is visually invisible. To pull the fabric you will need to use high quality glue and a piece of antenna wire. To eliminate the cut, a cable no longer than 10 cm is glued parallel to the baguette to the edge of the damage. When the glue hardens, the coating on the construction site is treated with a hair dryer. Then the cable is pulled up and hidden in the groove of the baguette. If creases have formed in other places of the stretch ceiling, they will be eliminated according to similar instructions.
A cut located far from the wall is repaired with a patch.To do this, use one of the methods described earlier, selecting a suitable patch and fixing it on the damaged area.
How to plug a hole at home
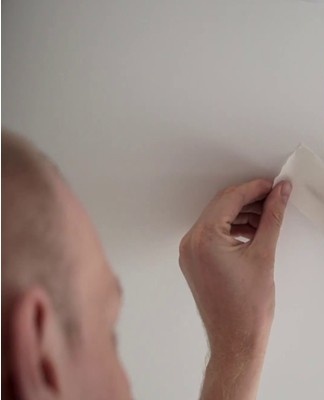
The best way to restore a stretch ceiling in a home environment is to use a patch. This option is optimal when the gap is not even, but slightly rounded or diverges in different directions. Applying glue to the patch is only allowed if the coating remains in shape after the appearance of the defect. When gluing the patch to the hole in the material, you must observe great care so that the restored place does not stand out very much from the general background.
Ways to decorate a large defect
The appearance of large defects on the stretch ceiling complicates the task of restoration and elimination of damage. A regular patch will not help restore the integrity of the fabric, so you have to use non-standard methods to decorate the damaged area.
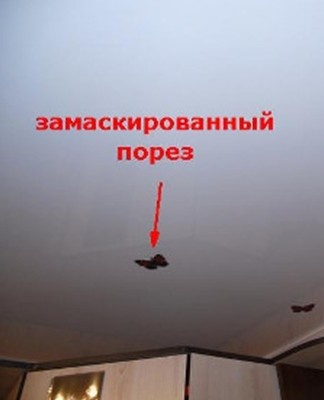
Apps
The use of appliques makes it possible not only to visually hide the cut in the fabric, but also to decorate the space. Customers can choose from a wide variety of applications made in the form of butterflies, colors and patterns. Various materials are used for the production of decorative sconces, but the most popular are plastic and vinyl products. They are non-toxic, attractive in appearance, easy to stick on and remove.
It is important to understand that the application will hide the fault, but you must fix it first. An adhesive solution and a stationery stapler are suitable for this purpose. The edges of the slit are bound with paper clips and coated with glue to improve strength. The selected application is applied on top, fixing it on the plastic glue.
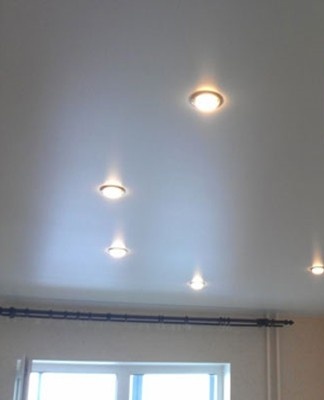
lamp device
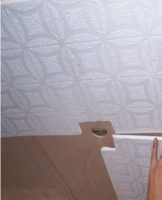
A spotlight can be placed in place of the damaged material, which will not only hide the defect, but also improve the illumination of the room. To install the luminaire, proceed step by step as follows:
- A rounded profile is applied to the canvas at the site of damage and markings are made. Then the slot is leveled along the drawn circle and the profile is finally defined.
- The supports are leveled so that they coincide with the level of the canvas. Through the cut hole, the electrical wiring is taken out and the lamp is fixed in it, having previously put the thermal ring on its body to prevent contact between the lighting device and the voltage cover.
- After installation, the luminaire is leveled, the lamp is screwed into it and the function is checked.
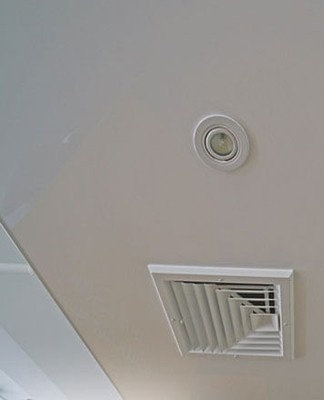
Ventilation grid assembly
The arrangement of ventilation on a stretch coating not only hides flaws, but also helps to preserve the original appearance of the material. Installing ventilation grilles is no more difficult than installing lamps, so you can do the job yourself if you follow the step-by-step instructions. Installation of ventilation consists of the following steps:
- The place where the canvas was damaged is brought closer with nylon threads. This is necessary so that the cut does not expand during further work.
- In places where the mesh will come into contact with the canvas, a protective ring is fixed with glue, which prevents further rupture of the fabric.
- When the ring is glued, the remaining coating is cut inside.
- If the room is equipped with an air duct system, the pipe is led through the hole and closed with a ventilation grille, fixing it on the back of the ring.For natural ventilation, where there is no automated air duct, simply place the grille on the protection ring.
Ventilation grilles are available in a variety of colors and configurations to find low-profile options. Not finding the desired shade, you can treat the front side of the product with a suitable color water-based paint.
In which cases it is impossible to glue the coating
There are a number of situations where even experienced craftsmen do not need to attempt to repair damage to stretch flooring. These situations include:
- Tear the fabric along the seam. Gluing the damaged area will only exacerbate the problem, so the material should be stretched from scratch.
- Separation of the covering from the wall. In these circumstances, it becomes necessary to dismantle the ceiling, to reinforce the profile/rod, or to install a new one.
The described situations often arise due to poor quality installation or the use of faulty hardware.
The only correct solution would be to contact the company that took care of the installation to replace the coating or return the funds.
Tips to avoid damage
Reducing the risk of damage to the stretch ceiling is possible, first of all, through careful handling. During construction and repair work, moving furniture, installing windows, you should not touch the ceiling with bulky and sharp objects. For safety reasons, a protective structure can be erected above the ceiling.
For prophylaxis, it is recommended to periodically inspect the surface of the stretch coating and take care of it. Clean the fabric with a soft sponge, a lint-free cloth and a detergent without abrasive components.The solvent and abrasive particle content of the cleaning agent will damage the belt and lose its appearance.